How To Tie A Bandana On A Dog
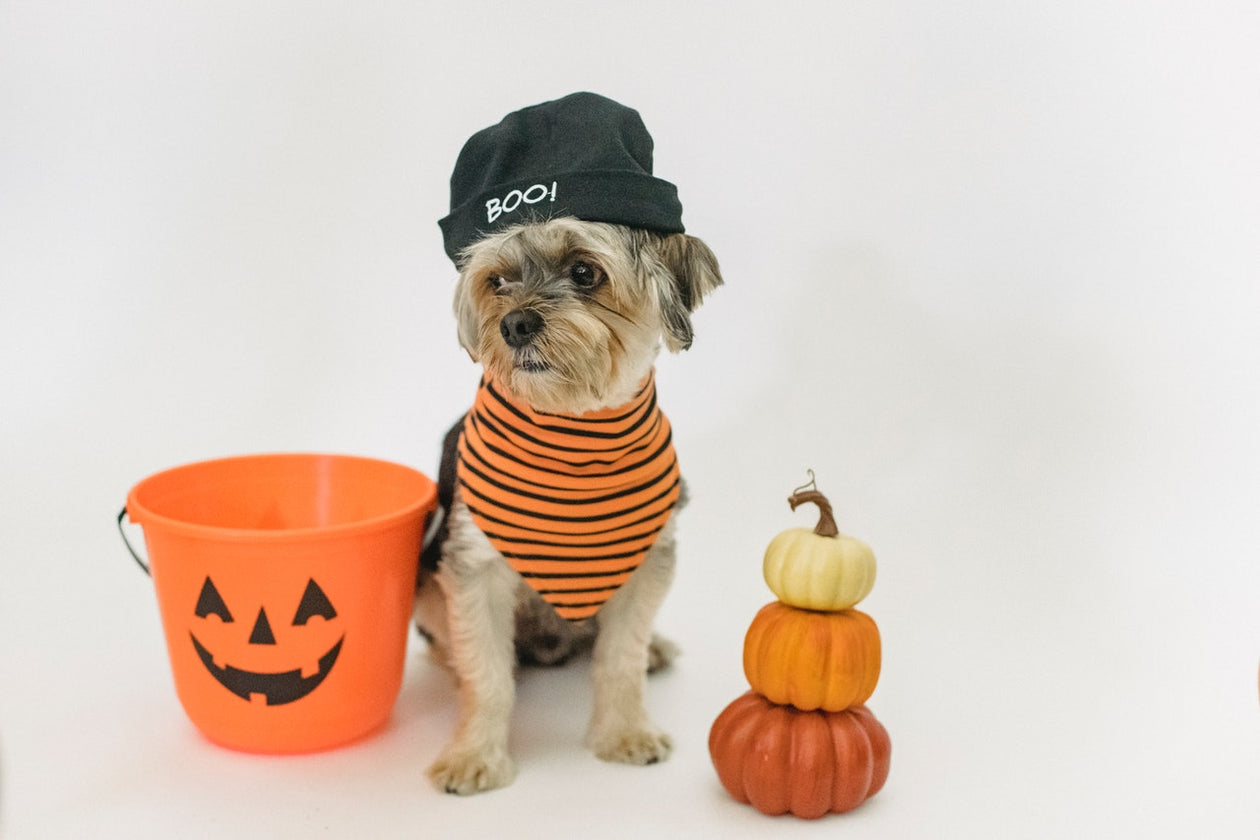
There are many reasons to wear a bandana on a dog. A few of these include serving as a safety measure to protect the dog, a means of repelling bugs, a way of communicating with other dog owners, and a fashion statement.
Irrespective of the reason behind your decision to tie a bandana on your dog, it is crucial that you choose a bandana that your dog loves. So, have fun picking a bandana that fits your dog's personality and is comfortable with your dog from the numerous bandana options in the market.
For those who have chosen a bandana type, here is how to tie a bandana on a dog.
Preliminary Steps To Tie A Bandana On A Dog
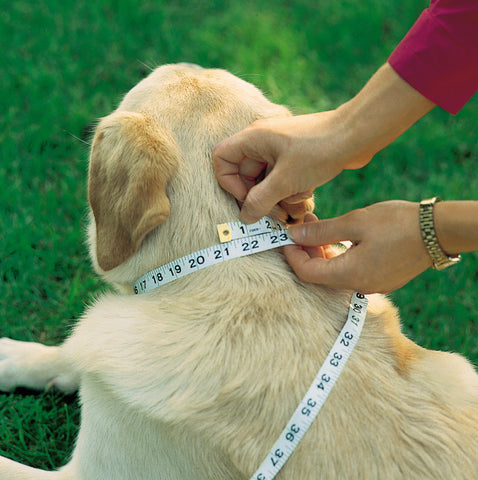
Step 1: Check The Size Of Your Dog's Neck
The length of the bandana matters, and it depends on the size of the dog's neck. You do not want the bandana long, so it does not get caught or torn apart. It should also not be so short that it suffocates your dog. Therefore, you must ensure to check the size of your dog's neck using a measuring tape.
Measurement of tie-up bandanas based on the size of dog include:
- For small dogs and medium-sized dogs: 14 to 20 inches.
- For larger dogs: 22 to 26 inches.
To get the exact length of the bandana, measure the circumference of the dog's neck and add about 6 to 8 inches. This is to make sure the bandana is not tied up tightly, ensuring that your dog can breathe easily.
Step 2: Choosing A Pattern
Choose a lovely pattern that fits your dog's personality. The design could be a funny pick from one of your favorite movies or animations. It could also be a football-themed pattern, artistic patterns, plain colors, or a monogrammed Bandana. You do not have to stick to a single bandana. Have a bandana for different seasons or holidays
How To Tie A Collared Bandana Using Sewing Method
Step 1: Make a square out of your cloth
Make a square out of your cloth using the measurements you require. You should make sure that all the square's sides are equal in length. Fold any two of the square's corners inside while keeping the right side facing down. Then fold 3 to 4 inches of the corner's tip toward the center.
Step 2: Fold the edges
To hold the triangles in place, iron the edges of the folds and use pins to secure them. Finally, sew the two ends of the material together. It is not necessary to stitch the folded edges.
Then fold the bandana diagonally so that the sewed triangles are folded in half even farther. You'll now have a triangle with two straight sides extending upward.
Step 3: Stitch Triangle sides
Mark 14-inch seams on the other two sides of the two large triangles, excluding the folded edge. Assemble triangles by stitching their sides together but be careful not to connect the straight edges, as that is where your dog's collar will go. Allow the bandana to be turned inside out by leaving a small amount of room on each side.
Step 4: Finishing Touches
To complete the bandana, turn it over to the right side. Add another 1/4-inch seam to the top (folded edge). This is where you'll set your dog's collar, so grab it. Measure the bandana's width and sew a line under the collar to make it fit snugly. Put it on your dog by slipping it through the collar.
How To Tie A Collared Bandana Using No-Sew Method

A collar bandana will necessitate a little extra room at the top. The fabric will take on the appearance of a house, complete with a foundation and a pointed roof. Glue the walls together and fold them down with a wide enough space for the collar to pass through after you've glued the triangles together. Hold the fabric folds in place with any of the adhesives listed above. After inserting the collar, you're ready to go.
How To Make a Sewn, Tie-up Bandana
Step 1: Choose Your Fabric
Depending on how loosely you want to tie the bandana and the number of knots you need to make, you will need a larger piece of cloth. Once you've found the right piece of fabric, cut it into a square of the necessary size. Now, follow these steps.
Step 2: Fold
Make sure that any two points on either side of the square align with each other before proceeding. Cut along the folded edge with a scissor after ironing it.
Step 3: Mark and Sew
Use a pencil or marker to mark 14-inch seams on all three edges of the cloth. Pin them to keep them in place after ironing. Then, sew all around the edges. If you prefer, you can simply sew the top edge of the garment.
Step 4: Finishing Touches
Flip the bandana over and place it correctly on your head. Once completed, your bandana is ready to go. Make a fashion statement by tying it around your dog's neck in whatever way you like!
Tie-up Bandana No-sew method
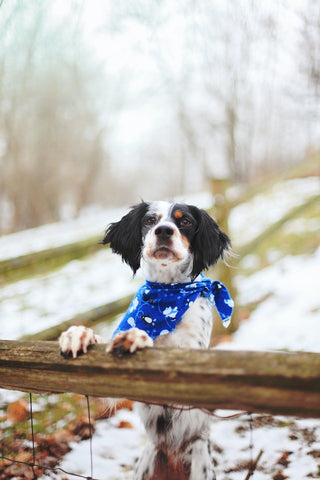
Step 1: Cut Cloth To Desired Size
Cut a square out of a piece of cloth according to the desired size. Use a marker to draw the triangle shown in the illustration onto the square. Using a scissor, cut along this edge to achieve the required shape. Put it on the wrong side of the bed.
Step 2: Make, Fold, Iron, and Seal Seams
Make 1/4-inch seams on each of the triangle's three sides. Fold and iron the seams together. You can use the glue to seal the seams.
Step 3: Mark segments
On top of your dog's collar, draw two segments that are somewhat larger than the collar's width, as depicted.
Step 4: Fold
Fold the cloth over the collar, securing it in the highest part. If you want the folds to stay put, you can iron them. You can also cut two triangles for the bandana instead of one and then glue them together in the same way. You will need to iron the triangles if you are using a fusible web or hemming tape.
Conclusion
Bandanas are a simple, chic way to make your dog look stunningly dapper. Sewing or tying one also helps you express your artistry. This guide on how to tie a bandana on a dog is all you need to get started.
Best Sellers

WATERCOLOUR
THE YOUNG QUEEN
MINIMALIST DESIGN
MINIMALIST PET PORTRAIT
THE GENERAL
THE ICE QUEEN

THE ROYAL COUPLE

THE CONVICT
THE PRESIDENT

THE BOURGEOIS COUPLE
WATERCOLOUR SIBLING
